What is Ambient Occlusion?
Ambient occlusion is most often calculated by casting rays in every direction from the surface. Rays that reach the background or “sky” increase the brightness of the surface, whereas a ray that hits any other object contributes no illumination. As a result, points surrounded by a large amount of geometry are rendered dark, whereas points with little geometry on the visible hemisphere appear light.
Ambient Occlusions are cool cause they add depth and a 3D look to the rendered image. We render ambient occlusion passes to give a 3D look to objects. Many people just render their models by applying ambient/reflective occlusion as a shader. But this way they lose the previous material. But I am going to show you a quick and easy way to render ambient occlusion passes.
Rendering Ambient Occlusion In 3dsmax
Using Material Override.
Step 1
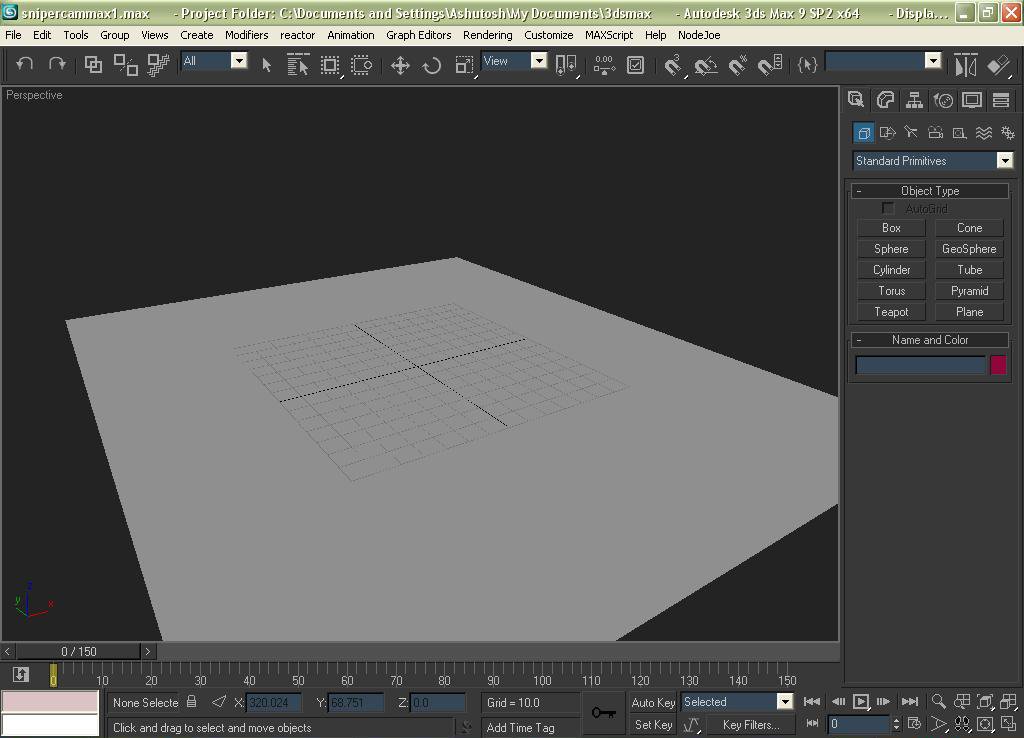
Open a new scene in 3dsmax and create a plane on the grid (exact coordinates don’t matter). Assign any material to it.
Step 2
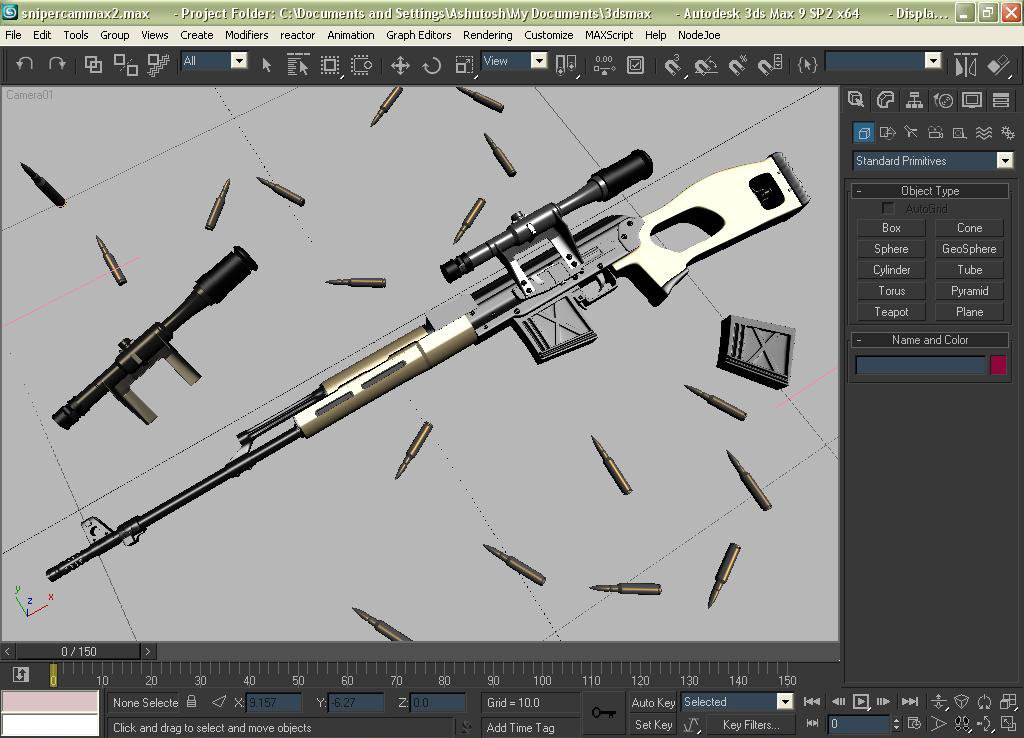
Now bring some basic primitives on the plane. In this case, I am using my own sniper model.
Step 3
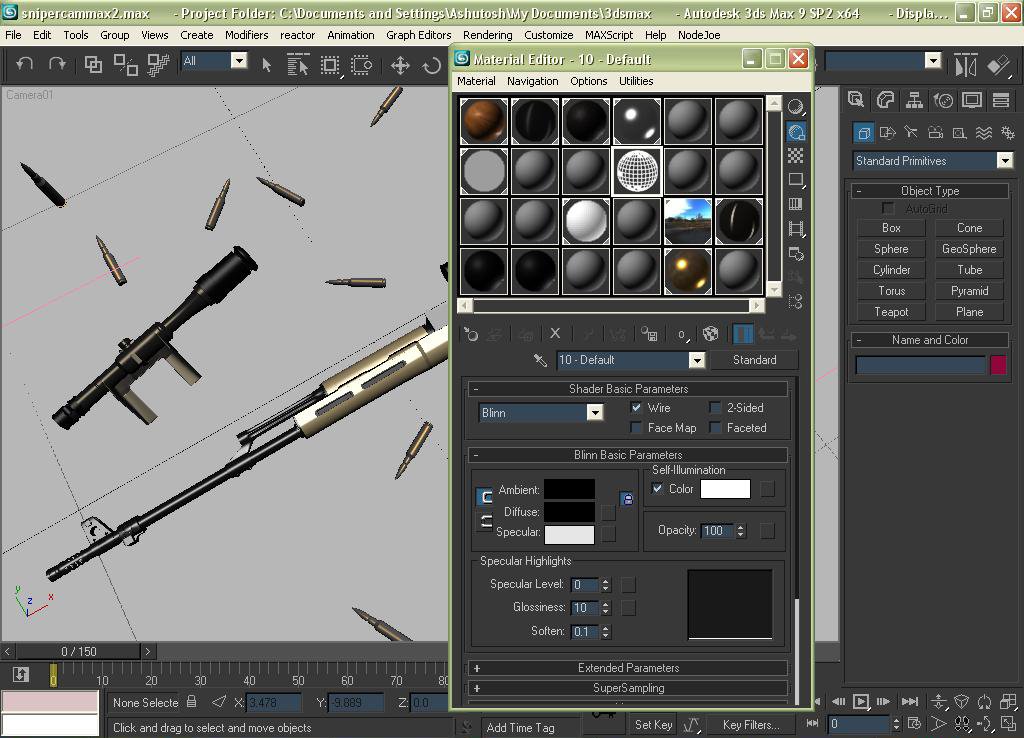
Now apply different materials to these basic primitives. In my case, I applied different materials to different parts of my sniper model. See my material editor…
Step 4
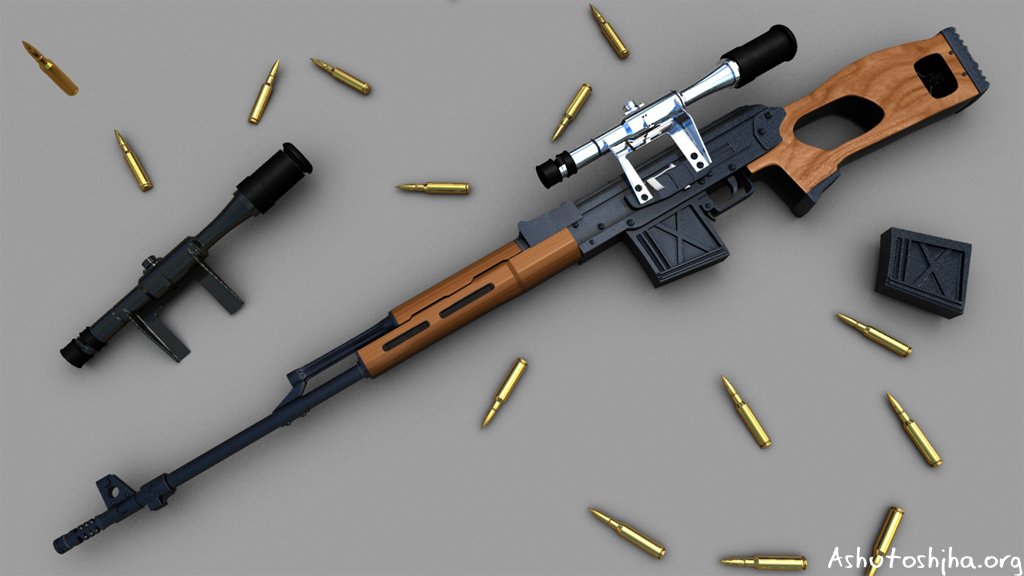
Now let’s do a quick render of the whole scene.
Step 5
Now we are going to render ambient occlusion for the whole scene. So to do this we go to render settings or, press f10 to bring the render scene dialog box. In the assigned renderer, we select mental ray. Now close the dialog box. Go back to the material editor and select any material.
Go to material self-illumination property turn it on and select ambient/reflective occlusion from the new material map browser do remember to rename the material, In my case, I renamed it into ambient occlusion. See my material editor…
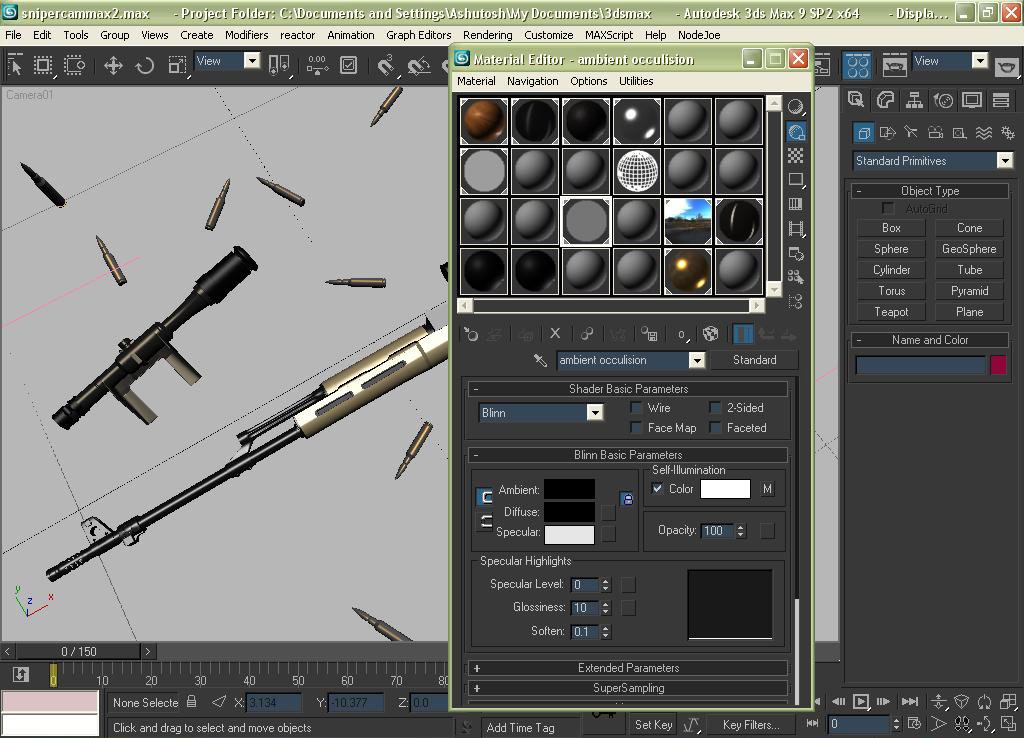
Here we are assigning ambient/reflective occlusion to the self-illumination property and not to the mental ray shader, diffuse, or any other property because we want our scene to be evenly lit from all directions.
Step 6
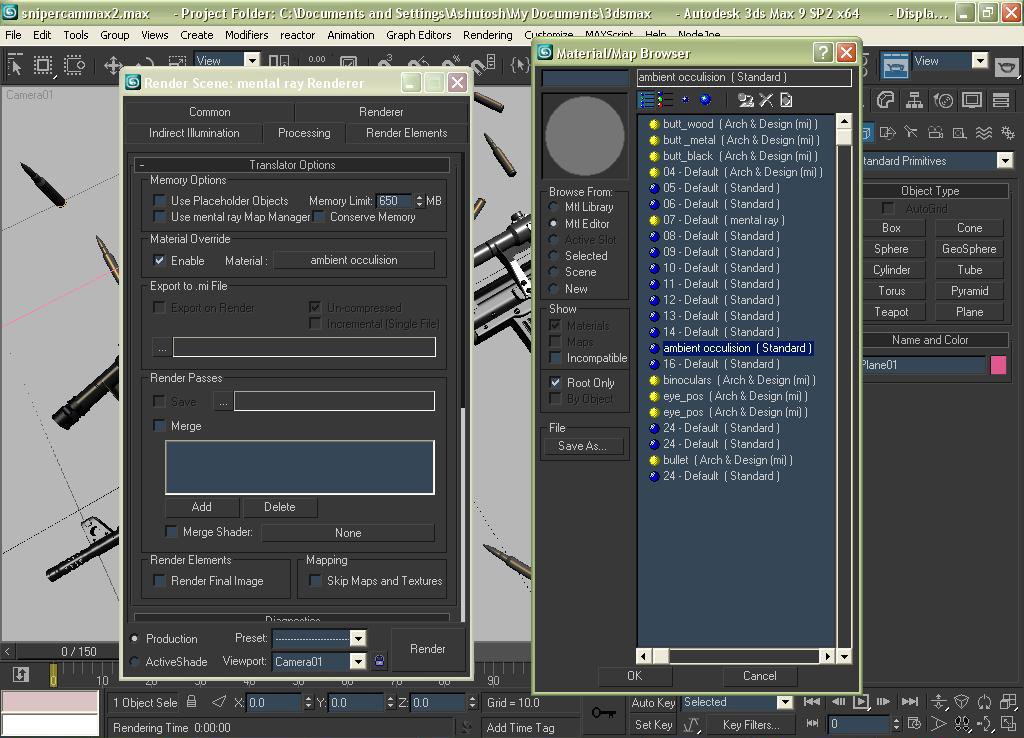
Now go to render settings dialog box go to processing tab check the material override and click on that, Now under the material map browser go to the material editor and select the ambient occlusion material. See the image below…
Step 7
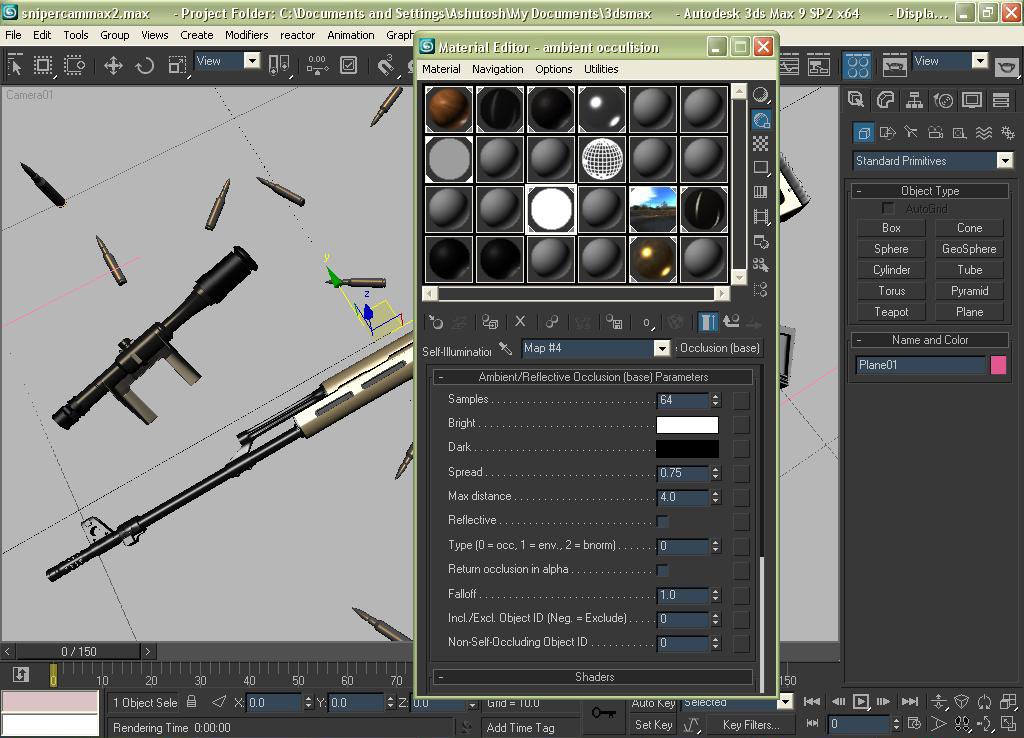
Now press M and bring back the material editor, Select the ambient occlusion material that we created earlier, Now go to the self-illumination map property and under max distance type 4 and in samples type 64 to reduce the noise in the render. You can increase the sample value but it increases your render time too.
Step 8
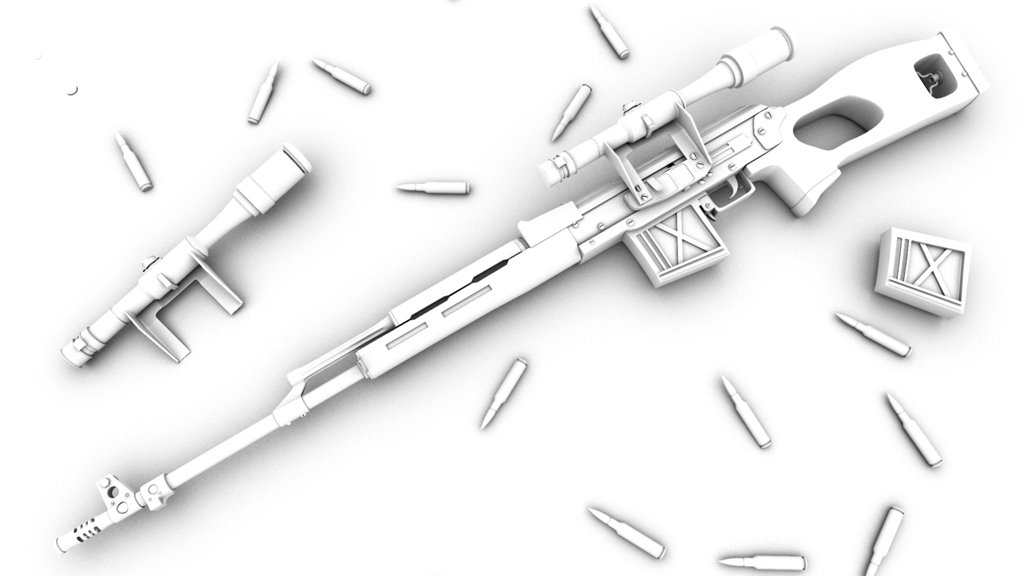
Now take a render of the whole scene and you are done. You have rendered an ambient occlusion pass without losing your previous materials. {Now if you want to bring the original material back just uncheck the material override checkbox and voila! you are done}.
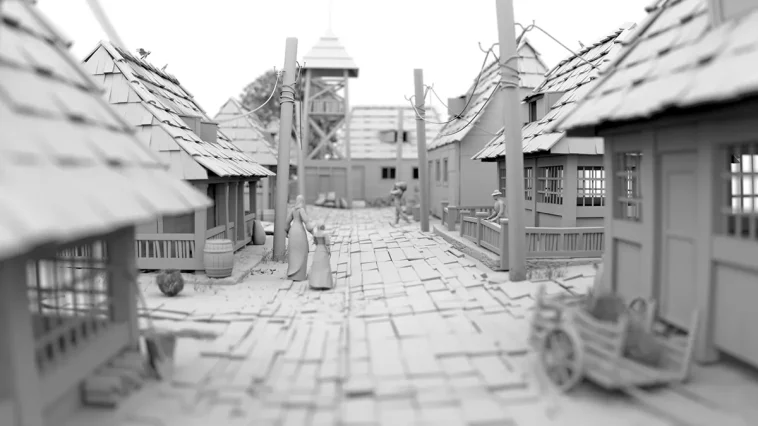
Now you can take this pass and composite it in any compositing program. See the final occlusion pass…


Comments